How to Insulate your Plumbing Pipes this Winter

Why is pipe insulation so important for homeowners in Maryland during the winter? Without proper insulation, pipes are highly vulnerable to freezing. What happens when water inside the pipes freezes? It expands, potentially leading to pipe bursts.
Can you imagine the costly repairs and water damage this could cause? By insulating your pipes, aren’t you also preventing water supply disruptions during the cold months? Proper insulation not only protects your plumbing but also keeps your home running smoothly.
Understanding Pipe Vulnerability
Pipes located in unheated areas of your home—such as exterior walls, basements, attics, and garages—are the most vulnerable to freezing in winter. These spaces tend to lack proper insulation, exposing your plumbing system to frigid air. When the temperature drops, the water inside these pipes can freeze and expand, leading to the potential for pipe bursts. These bursts don’t just cause minor leaks—they can lead to serious flooding, structural damage, and thousands of dollars in repairs.
Recognizing the early warning signs of freezing pipes is crucial to avoiding disaster. One of the first indicators is a noticeable reduction in water flow, especially in rooms that are colder or less frequently used. When water flow slows to a trickle, it means ice is likely forming inside the pipe. Frost on the exterior of exposed pipes is another sign that freezing temperatures are affecting your plumbing system. Ignoring these signs can result in a complete blockage or worse—a burst pipe that floods your home.
Properly insulating vulnerable pipes is a small investment with significant benefits. By insulating pipes in areas like garages and attics, you not only prevent freezing but also save on heating costs and reduce the risk of expensive water damage. In the long run, it ensures that your plumbing system functions smoothly, even in the harshest winter conditions.

Types of Pipe Insulation
When it comes to insulating your plumbing pipes, choosing the right type of insulation is essential for protection during the winter months. Different insulation materials offer unique benefits, especially when insulating both hot and cold water pipes. Here’s an overview of some of the most common types:
- Foam Sleeves:
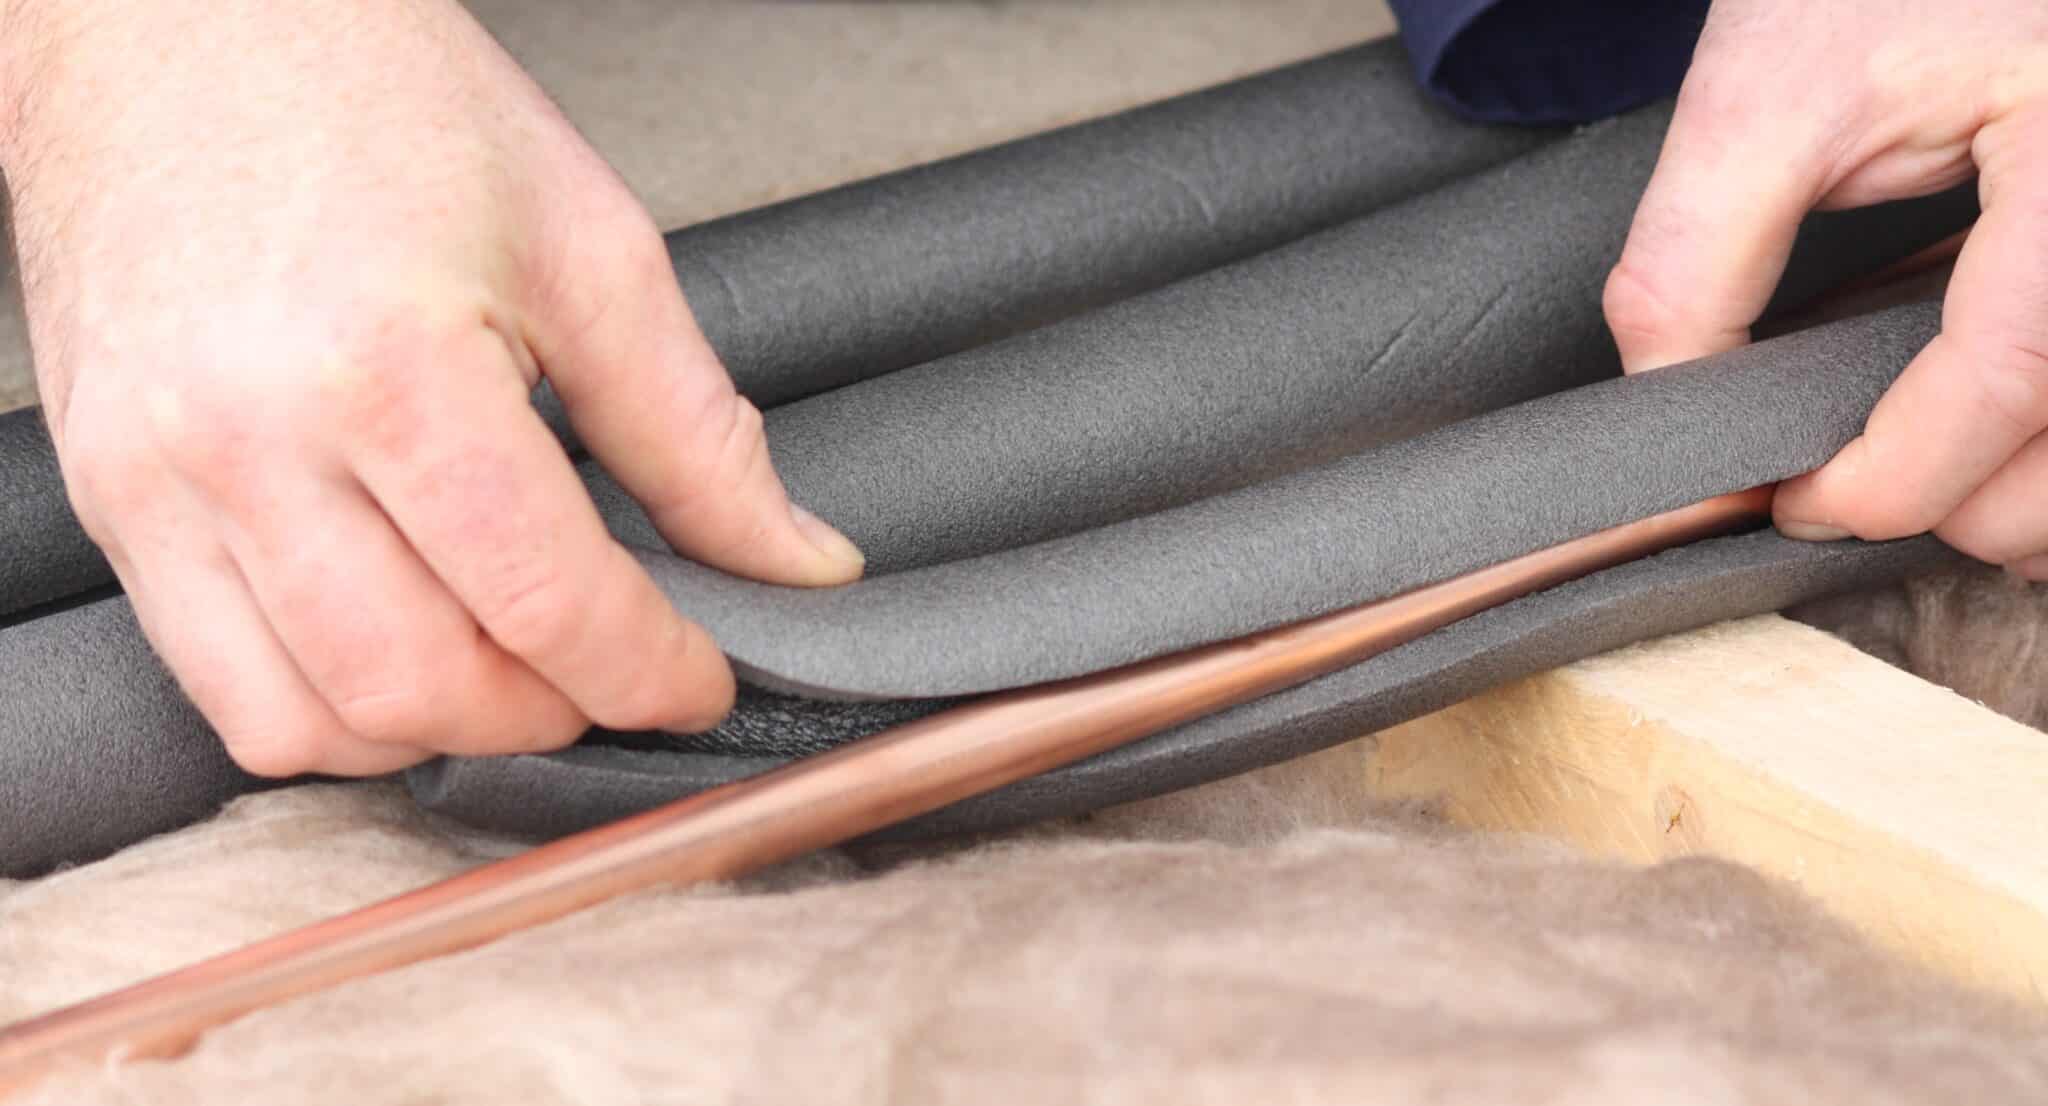
Foam pipe insulation sleeves are one of the easiest and most affordable options. These sleeves come in pre-cut sections that can easily slip over pipes. Their primary benefit is preventing cold water pipes from freezing and minimizing heat loss in hot water pipes. Foam insulation is lightweight and ideal for areas with mild to moderate cold, but it may not be sufficient for extreme temperatures. - Fiberglass Covers:
Fiberglass insulation offers more durability and heat resistance, making it a better choice for hot water pipes in areas with higher temperature exposure. It consists of a rigid material that wraps around the pipe, providing excellent thermal resistance. Fiberglass is particularly effective in attics and basements where higher temperature fluctuations occur. The added benefit? It can handle extremely high temperatures without degrading. - Spray Foam Insulation:
Spray foam insulation is best for irregularly shaped pipes or tight spaces where traditional sleeves may not fit. This type of insulation expands after being sprayed, filling all gaps and providing an airtight seal. Spray foam is highly effective at insulating both hot and cold water pipes, making it suitable for areas prone to extreme cold. It also prevents condensation, which can help reduce mold growth around pipes.
Each type of pipe insulation has its strengths, but selecting the right material depends on your specific needs. Insulating both hot and cold water pipes with the appropriate materials ensures efficient temperature regulation, prevents freezing, and reduces energy costs.
Step-by-Step Guide: How to Insulate Pipes
Properly insulating your pipes is essential for protecting them from freezing and reducing energy loss. Follow this step-by-step guide to ensure a thorough and effective insulation process.
-
Measure and Cut Foam Insulation
Begin by measuring the length and diameter of the pipes you want to insulate. Use a tape measure to get accurate dimensions. Once you have the measurements, purchase foam pipe insulation that fits the pipe’s diameter. Most foam insulation comes in pre-cut lengths with a slit down the middle for easy installation.
Next, cut the foam insulation to the appropriate lengths. Use a utility knife or scissors to make clean cuts. Ensure that the insulation pieces fit snugly around the entire pipe without leaving any gaps.
-
Apply and Seal the Insulation
Once cut, open the slit in the foam insulation and slide it over the pipe. Make sure it wraps completely around the pipe for full coverage. The next crucial step is sealing the insulation to secure it in place and maximize its effectiveness. Use duct tape, insulation-specific adhesive, or self-sealing foam (which comes with adhesive strips) to seal the slit and any seams between insulation sections. Sealing is critical to prevent cold air from sneaking into the gaps, which could lead to freezing.
-
Use Heat Tape for Extreme Cold
For pipes in particularly cold or exposed areas, consider adding heat tape before applying the foam insulation. Heat tape is an electrical cable that you wrap around pipes, providing a steady source of warmth to prevent freezing. It includes a built-in thermostat that activates only when temperatures drop below a set threshold. After applying the heat tape, you can install the foam insulation over it for added protection. Always check the manufacturer’s instructions to ensure compatibility between the insulation and heat tape.
By following these steps, you ensure your pipes remain protected throughout the cold season, reducing the risk of freezing and burst pipes.
Additional Tips for Protecting Your Plumbing
To keep your plumbing safe during the harsh winter months, there are additional steps you can take to protect your pipes beyond basic insulation. These proactive measures can make all the difference when temperatures drop below freezing, ensuring that your pipes remain functional and avoid costly damage.
Keep Cabinet Doors Open
One simple but highly effective tip is to keep the cabinet doors under your sinks open, especially if they are located on exterior walls. By doing this, you allow warm air from your home’s heating system to circulate around the pipes, preventing them from freezing. This is particularly important during cold spells when the temperature in those enclosed spaces can drop dramatically.
Let Faucets Drip
Another preventative measure is to allow your faucets to drip slowly during freezing weather. A small, steady drip keeps water moving through the pipes, which reduces the chances of freezing. It also relieves pressure that could otherwise build up and cause pipes to burst if they freeze completely. This technique works especially well in colder parts of your home, such as basements, attics, or crawl spaces where pipes are more exposed.
Use Pipe Wrap and Faucet Covers
For additional protection, consider wrapping exposed pipes in unheated areas with extra insulation, such as pipe sleeves or foam tape. These materials add another layer of defense against freezing temperatures. You should also place insulated faucet covers on outdoor taps to protect them from the cold. These simple steps help reduce the risk of freezing, especially during prolonged periods of cold weather.
Taking these extra precautions can save you from the frustration of frozen pipes, costly repairs, and potential water damage during the winter. They’re easy, affordable solutions that help keep your plumbing system running smoothly, even in the most extreme conditions.

Common Mistakes to Avoid
When insulating your plumbing pipes, it’s easy to make mistakes that reduce the effectiveness of your efforts. These common errors can leave your pipes vulnerable to freezing and cause expensive damage. Avoiding these pitfalls is essential to ensure your pipes are fully protected throughout the winter.
Using the Wrong Insulation Materials
Not all insulation is created equal, and using the wrong type can lead to big problems. For example, using standard fiberglass insulation on pipes in extremely cold areas can be ineffective because it doesn’t always provide enough protection against freezing temperatures. Similarly, not using weather-appropriate insulation, such as foam or rubber sleeves designed for cold environments, can leave pipes exposed to freezing air. It’s important to choose materials specifically designed for pipe insulation to provide proper thermal resistance.
Failing to Seal Gaps Properly
Another common mistake is failing to properly seal gaps or joints in the insulation. Even a small gap can allow cold air to seep in, significantly reducing the insulation’s effectiveness. Whether you are using foam sleeves, fiberglass, or another type of insulation, always ensure that the seams are tightly sealed using adhesive tape or the product’s self-sealing strip. Gaps or loose seals can quickly lead to freezing in localized spots along the pipes, causing potential bursts and water damage.
Neglecting Exterior Spigots and Garden Hoses
One of the most overlooked areas is exterior spigots and hoses. Forgetting to disconnect garden hoses and failing to protect exterior faucets with insulated covers can lead to frozen water backing up into your indoor pipes. In freezing temperatures, any water left in exterior hoses can expand, causing spigots to crack and leading to leaks or bursts inside your home. Always disconnect hoses before the first freeze and cover exterior spigots to prevent freezing damage.
Avoiding these common mistakes ensures that your pipes stay protected throughout the winter, drastically reducing the risk of costly repairs. Choosing the correct insulation materials, sealing gaps thoroughly, and giving proper attention to outdoor fixtures are essential steps for effective winter pipe protection. Taking these precautions not only shields your plumbing but also provides peace of mind during the colder months.
Long-Term Benefits of Pipe Insulation
Pipe insulation offers numerous long-term benefits, starting with its ability to prevent freezing during the cold months. This not only protects your pipes from bursting, but it also reduces the likelihood of expensive water damage repairs. However, the advantages of insulation go beyond just winter protection. Proper insulation minimizes heat loss in hot water pipes, which means your water heater won’t need to work as hard to maintain the desired temperature. This leads to a significant reduction in energy usage and, consequently, lower utility bills. By keeping water hotter for longer, insulation makes your entire plumbing system more energy-efficient, saving both money and energy over time.
Additionally, insulating cold water pipes offers environmental benefits by reducing condensation. When cold water pipes are exposed to humid air, condensation forms, which can contribute to moisture issues like mold growth. Insulation prevents this condensation, keeping your home’s air healthier and reducing the risk of damage to surrounding areas. By decreasing moisture and energy use, pipe insulation also lessens your household’s overall carbon footprint. It’s a simple yet effective way to make your home more eco-friendly while protecting your plumbing system.
In the long run, pipe insulation not only boosts efficiency and lowers costs but also contributes to a more sustainable and environmentally conscious home. It’s a smart investment that offers peace of mind and tangible benefits for years to come.
Preparing Your Home for Winter
As winter approaches, preparing your home is essential to avoid costly repairs and keep it warm and energy-efficient. Here’s a checklist of winterization tasks that will help protect your home during the colder months:
- Seal Cracks Around Windows and Doors
Cold air can easily enter your home through small gaps around windows and doors, increasing energy costs. Use weatherstripping or caulk to seal any cracks or gaps. This simple step can prevent drafts and help maintain a consistent indoor temperature, reducing strain on your heating system. - Add Insulation to Attics and Crawlspaces
Insulating attics and crawlspaces is one of the most effective ways to keep heat inside your home. Heat rises, and without proper insulation in your attic, you could lose a significant amount of warmth. Likewise, insulating crawlspaces helps prevent pipes from freezing and keeps cold air from seeping into your living spaces. - Inspect and Clean Gutters
Blocked gutters can lead to ice dams, which prevent melting snow from draining properly. This can cause water to back up and seep into your home, leading to roof and interior damage. Clean out your gutters and ensure they are free of debris before the first snowfall. - Protect Exterior Faucets and Drain Sprinklers
Disconnect and store garden hoses, and install insulated covers on exterior faucets to prevent freezing. Also, drain sprinkler systems to avoid pipe damage during freezing temperatures. - Check Your Heating System
Before the cold hits, have your heating system inspected by a professional. Make sure it’s running efficiently and change the filters to improve airflow. This helps your heating system run more efficiently and reduces energy costs.
Taking these simple steps can safeguard your home, protect your plumbing, and help lower energy costs throughout the winter. With proper winterization, you can ensure a warm and secure home all season long.
Seasonal Considerations for Maryland
As October approaches in Gambrills, Maryland, it’s the ideal time to prepare your home for winter. With temperatures starting to drop, early preparations can prevent costly damage later on. One key task is insulating pipes, particularly in unheated spaces like basements, garages, and attics. Freezing temperatures can cause pipes to burst, leading to significant water damage and expensive repairs. By insulating them now, you ensure your plumbing system is ready for winter’s chill.
In Gambrills, the coastal humidity adds another layer of concern. High moisture levels can lead to condensation on cold water pipes, even during cooler months. This moisture buildup, if ignored, can result in mold growth or structural damage. Insulating pipes now not only prevents freezing but also protects against condensation, safeguarding your home from potential issues.
October is also an ideal time to have your heating system inspected. A well-maintained furnace ensures your home stays warm and energy-efficient throughout the winter. Addressing potential issues early can prevent unexpected breakdowns during the colder months when you need reliable heat the most.
Completing these tasks in October ensures your home is fully prepared for winter, significantly lowering the risk of damage and maintaining comfort throughout the colder months.
Conclusion
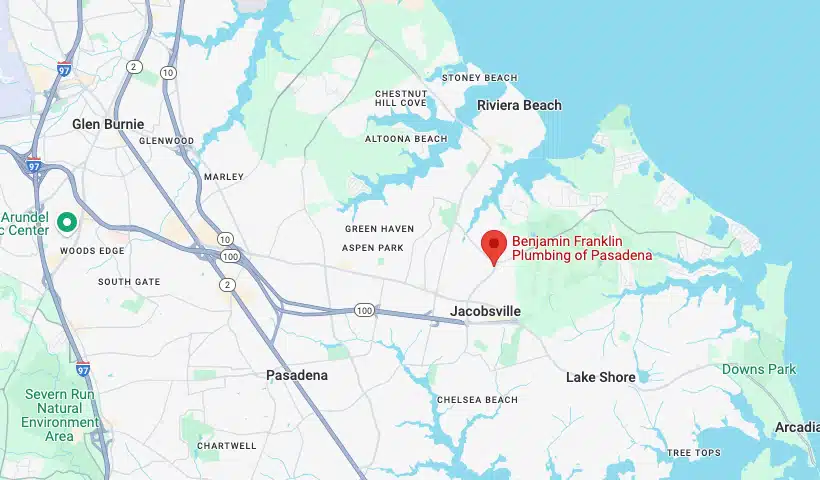
properly insulating your pipes is not just a precaution—it’s a critical step in protecting your home from winter damage and avoiding costly repairs. Without proper insulation, freezing temperatures can cause pipes to burst, leading to extensive water damage. Acting now will safeguard your plumbing and provide peace of mind throughout the colder months. Trust Benjamin Franklin Plumbing of Pasadena, MD to expertly winterize your home in Gambrills, ensuring your pipes remain safe and your home stays warm all winter long.
FAQ
-
How can I tell if my pipes are insulated correctly?
You can check your pipes by ensuring the insulation covers them fully, without any gaps or exposed sections. The insulation should fit snugly around the pipes and be sealed at the seams to prevent cold air from getting in.
-
What should I do if my pipes freeze despite insulation?
If your pipes freeze, immediately shut off the water supply to prevent bursts. Use a hairdryer or heating pad to warm the pipes gradually, starting from the faucet end. Avoid open flames, as they can damage the pipes. If you’re unsure, call a professional.
-
Is pipe insulation enough, or do I need additional heat sources?
In particularly cold areas, insulation alone may not be enough. You can add heat tape or cables to vulnerable pipes, which provide extra warmth during freezing temperatures.
-
Can I install pipe insulation myself, or should I hire a professional?
Installing pipe insulation is a task most homeowners can handle themselves, especially for easily accessible pipes. However, for hard-to-reach areas or if you’re unsure about the process, hiring a professional ensures proper installation.
-
How often should I check or replace pipe insulation?
You should inspect your pipe insulation annually, particularly before winter. Replace it if you notice wear, gaps, or signs of deterioration, as damaged insulation won’t provide adequate protection.


